Casing up
Welcome to the second chapter, where you'll see how to assemble the casing for your CircuitPet!
Let's take two oval-shaped acrylic casings.

The first thing you need to do is to peel off the white protective layers.
As you can see, each of the acrylic casing parts has a protective layer on both sides that needs to be peeled off. They are not yet fully transparent, but they should be once you finish this step!

Don't forget to peel the second layer as well!

This is what the casings should look like once you remove all the protective layers:

Take the PCB, the bigger acrylic casing, four golden spacers, four metal bolts, and a screwdriver.

First, we will take the casing and the PCB and put the casing on the back side of the PCB.
Please, make sure to put it correctly - the part with many holes should be at the bottom.
Check out the photos below to help yourself:


Now, take one bolt and one spacer and put them in one of the four holes.
The important thing is to put the bolt from the outside of the acrylic casing and the spacer from the inner side.
You'll have to fasten it with your fingers. No tools are needed yet!


Repeat this four times until your PCB looks like this:


Next, we'll put the front acrylic casing on the top of the display board.
We'll use the display board, front casing, four metal bolts, and the screwdriver for this step.

Place it so the not connected part goes to the bottom.

Take the PCB and connect the two boards.
You'll have to put the male pin headers into the female ones.


Make sure everything is connected before going to the next step.
Also, check if the spacers are placed exactly under the holes on the display board to avoid problems in the future.
If everything is alright, take one of the metal bolts and the screwdriver.


Repeat this step for all four bolts.
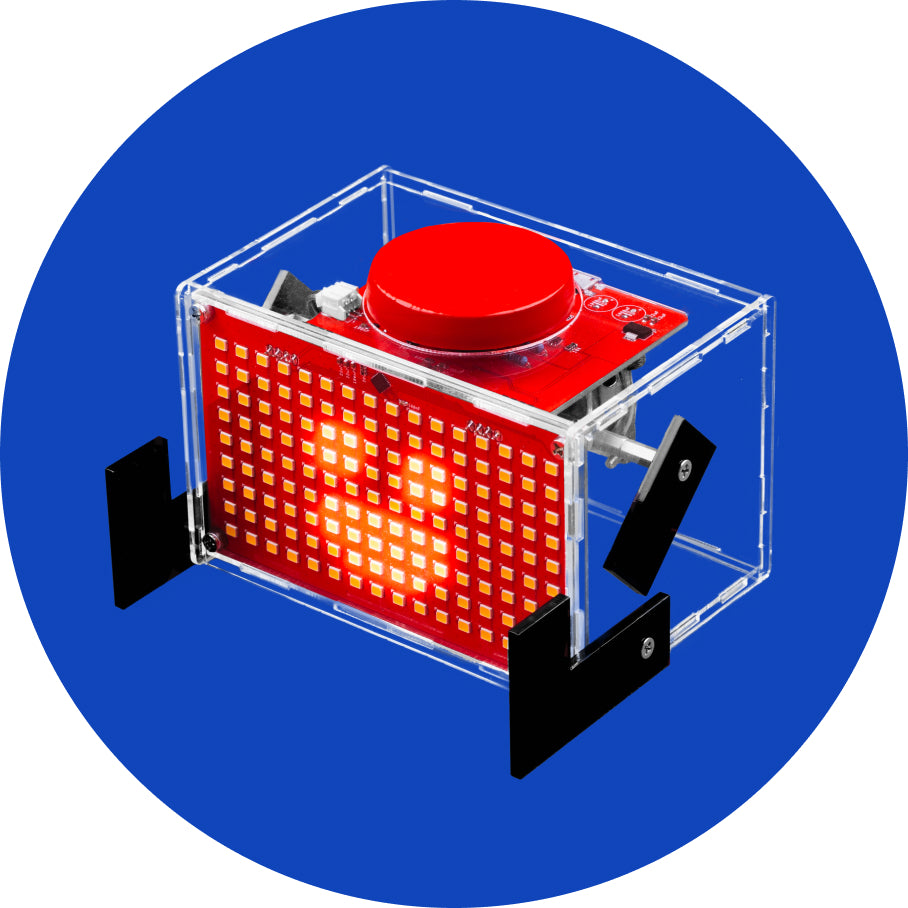
Your CircuitPet should look like this at the end:


Additional step
With all the components necessary for your CircuitPet, you also received two additional parts of acrylic casings, stickers, and a lanyard.
We'll show you how to use them right now.
Let's start with the two casings. Those are meant to be CircuitPet's stand!

First, you'll have to remove two protective layers, just like you did at the beginning of this chapter.

Don't forget the other side!

This is what casings should look like once you remove all the layers:

Now, let's make it into a stand.
The shorter side goes into the rocket-shaped casing.

Put some stickers on it, and you got yourself a stand for your CircuitPet.


The last thing left to do is to use that yellow lanyard you got in your kit.

Congrats! You successfully built your CircuitPet!


