
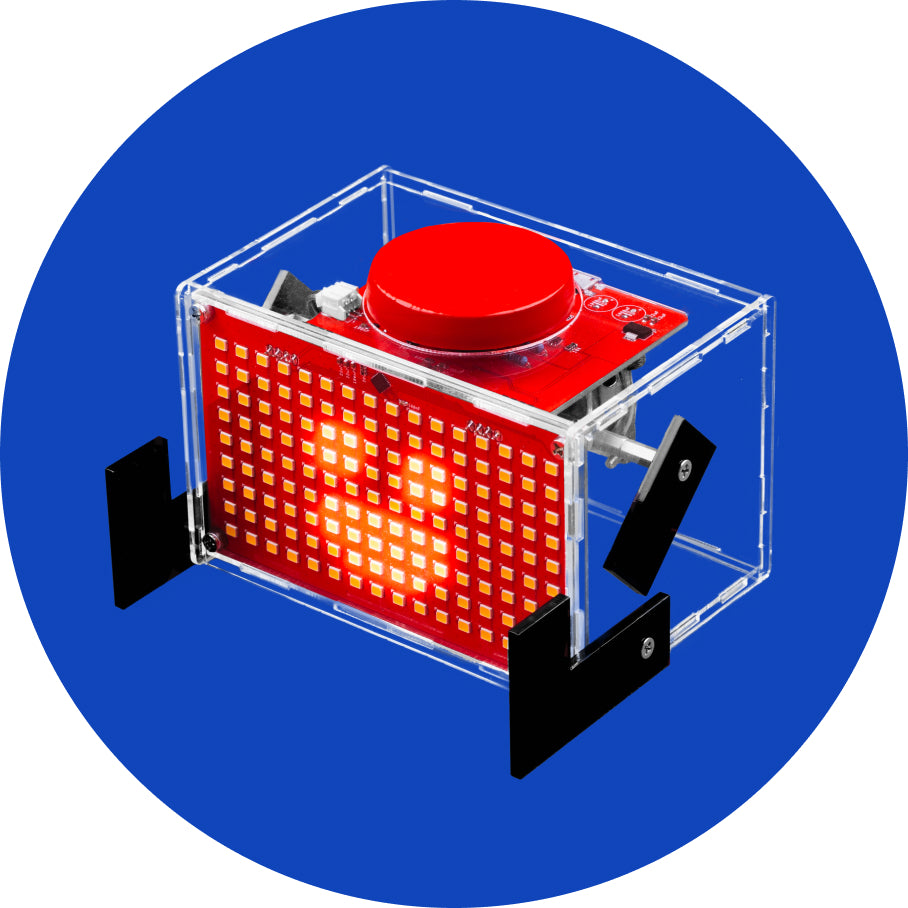

Let's make BOB!
Now you know the basics of what you're going to do. Ready for assembling?
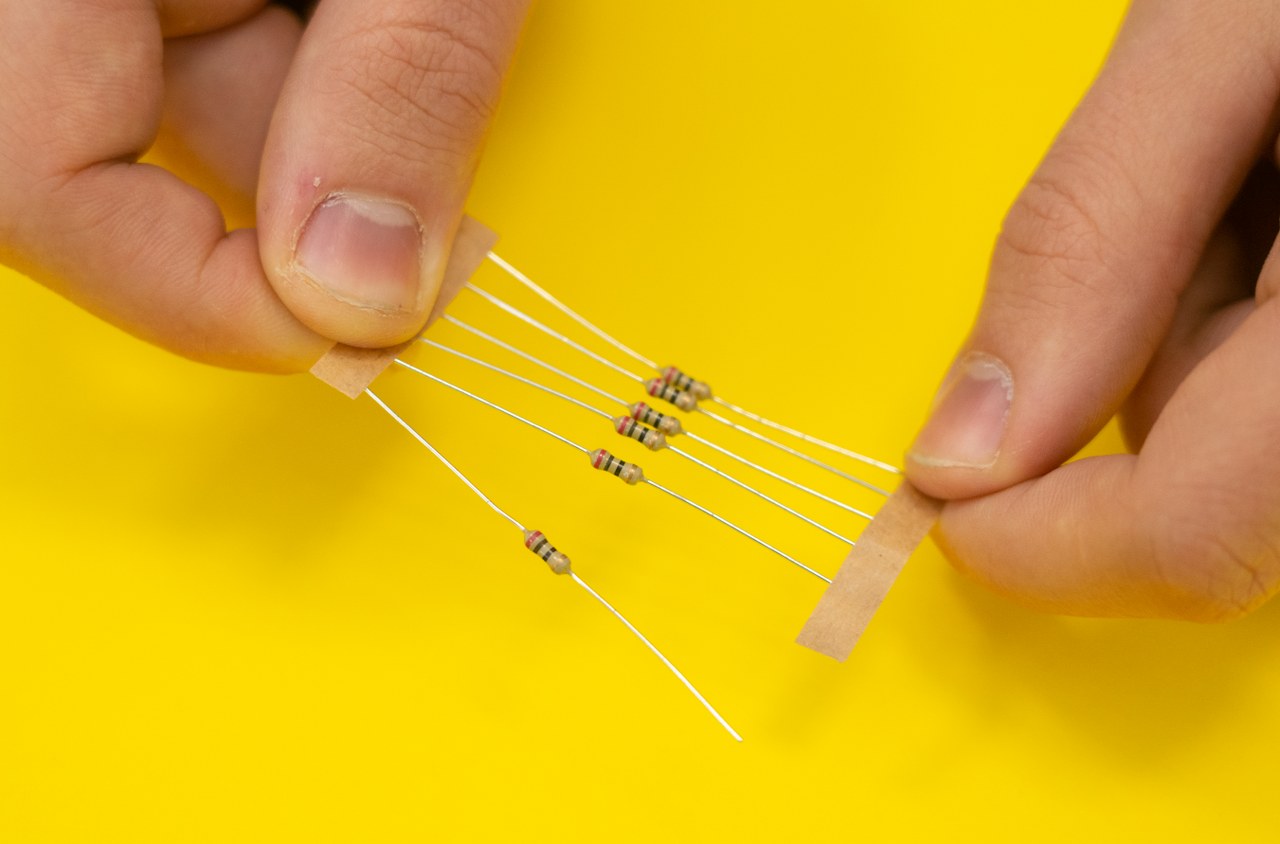
Part one - Resistors
The first components you will need while assembling BOB are resistors.
First, take off the paper packaging placed on both ends of resistors.
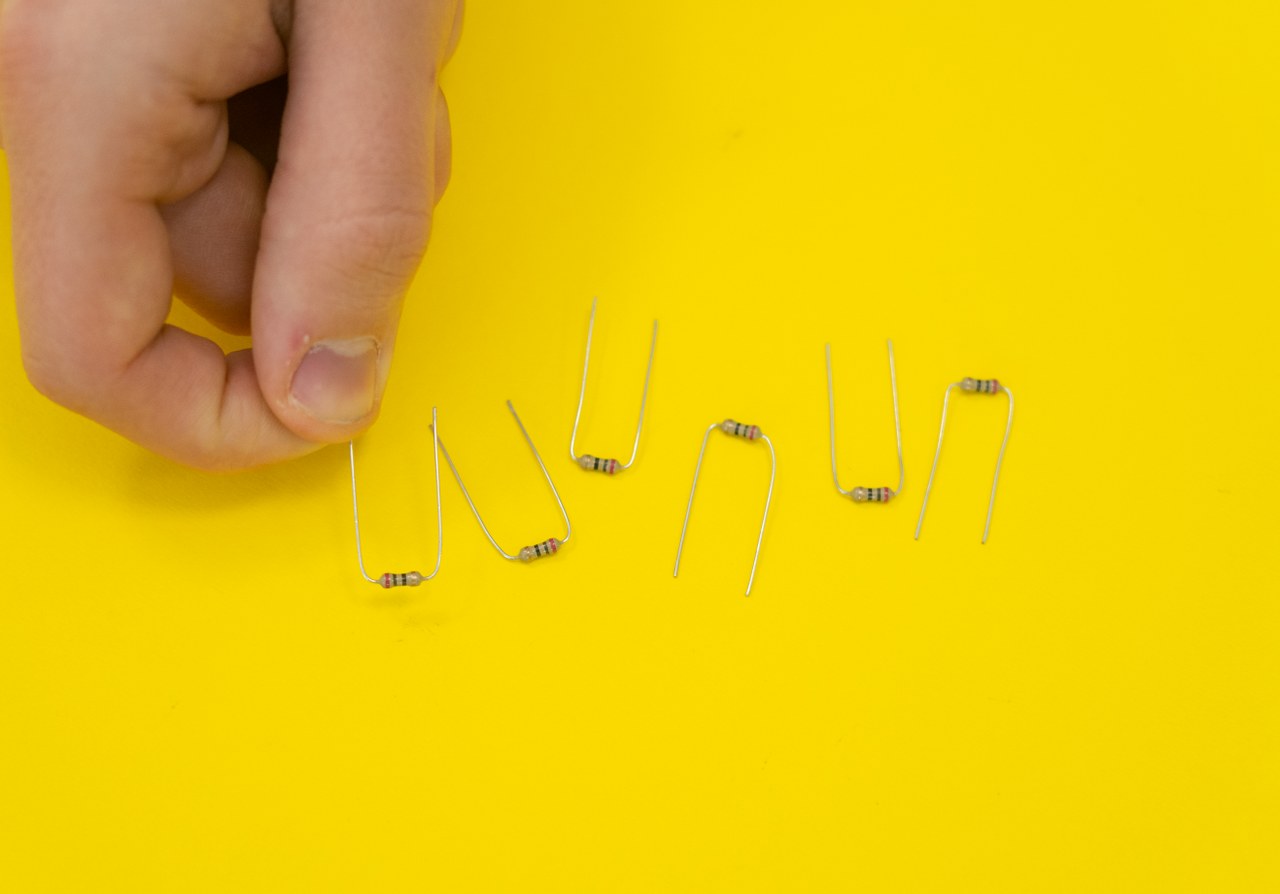
Now, you should gently bend them in the shape of the letter U, but be careful because they could break easily.
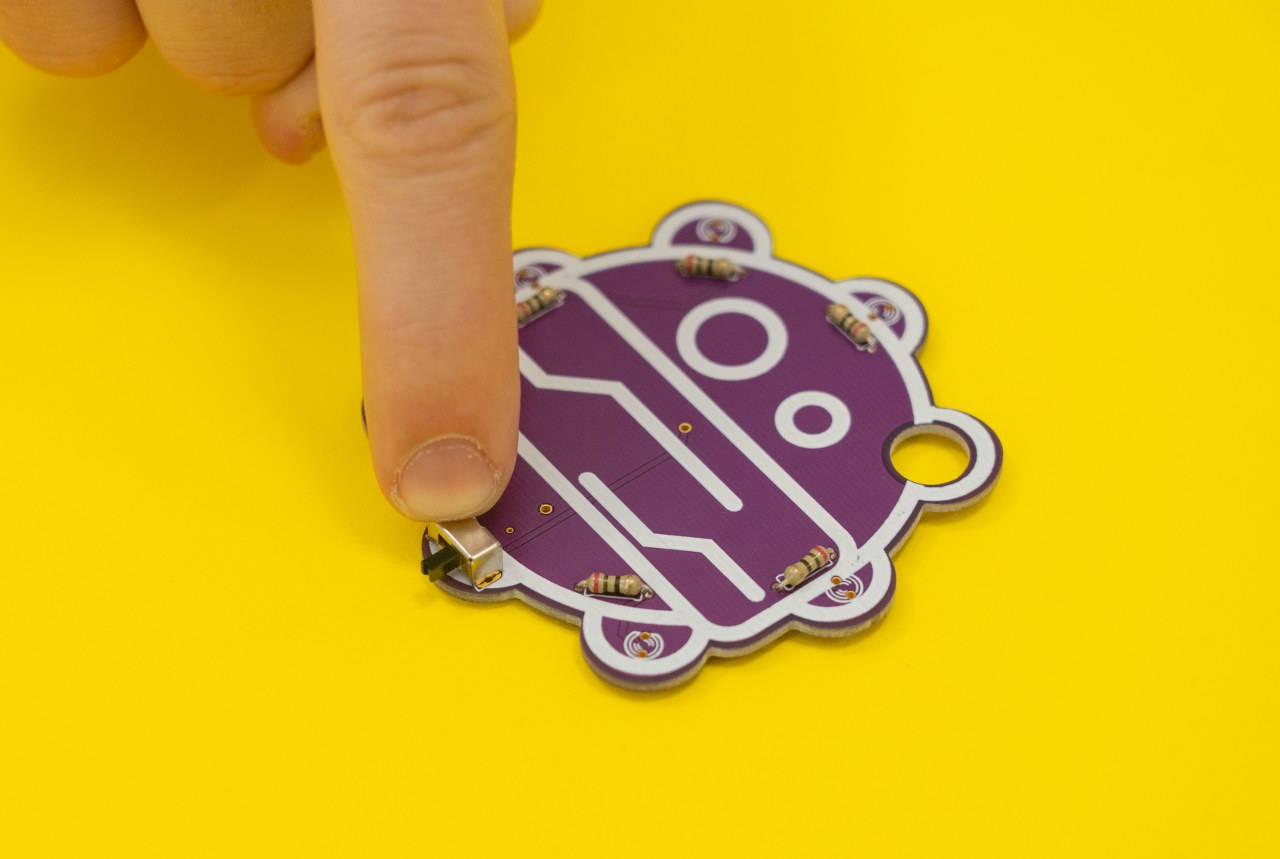
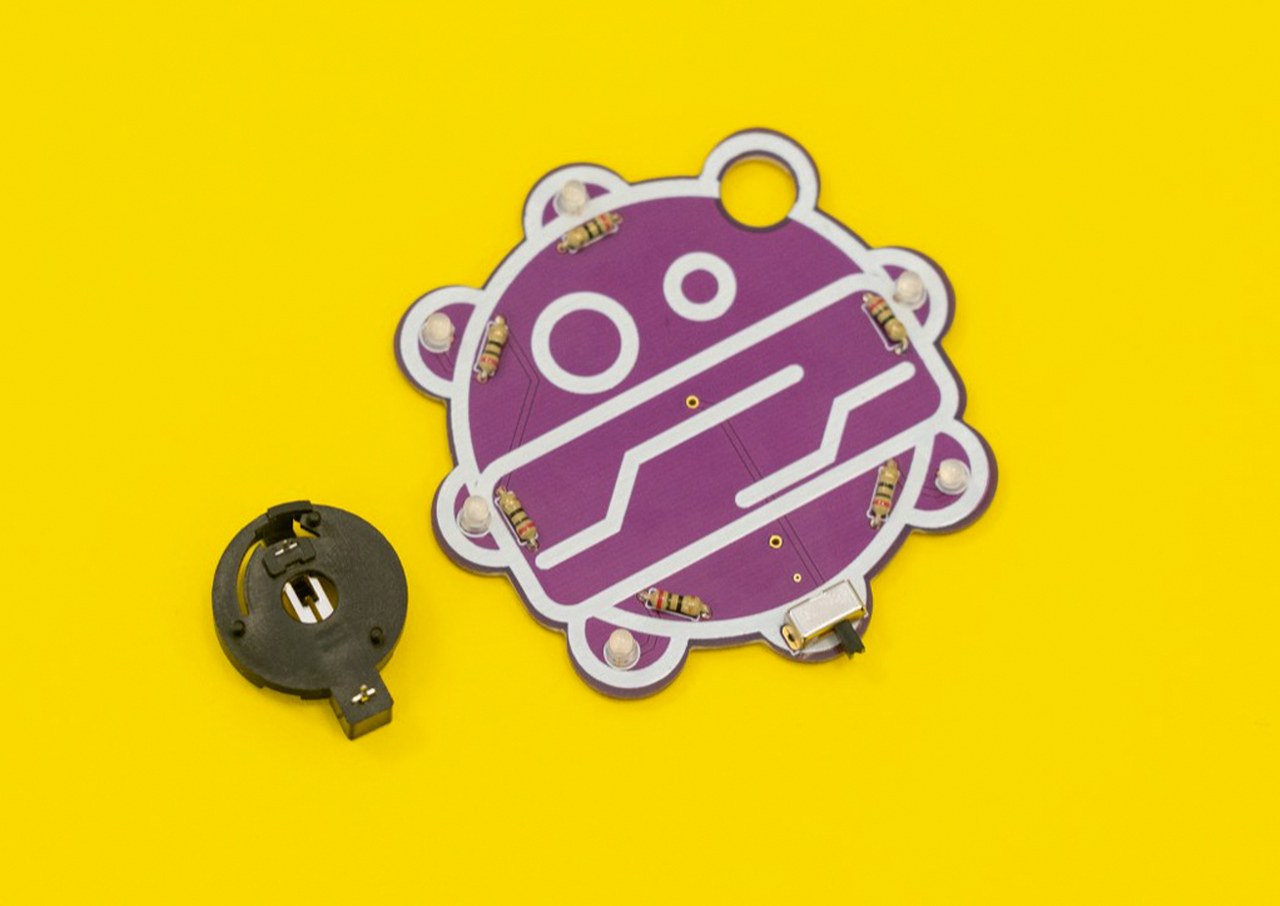
Take them one by one, and place them on the circuit board as shown in the photo:
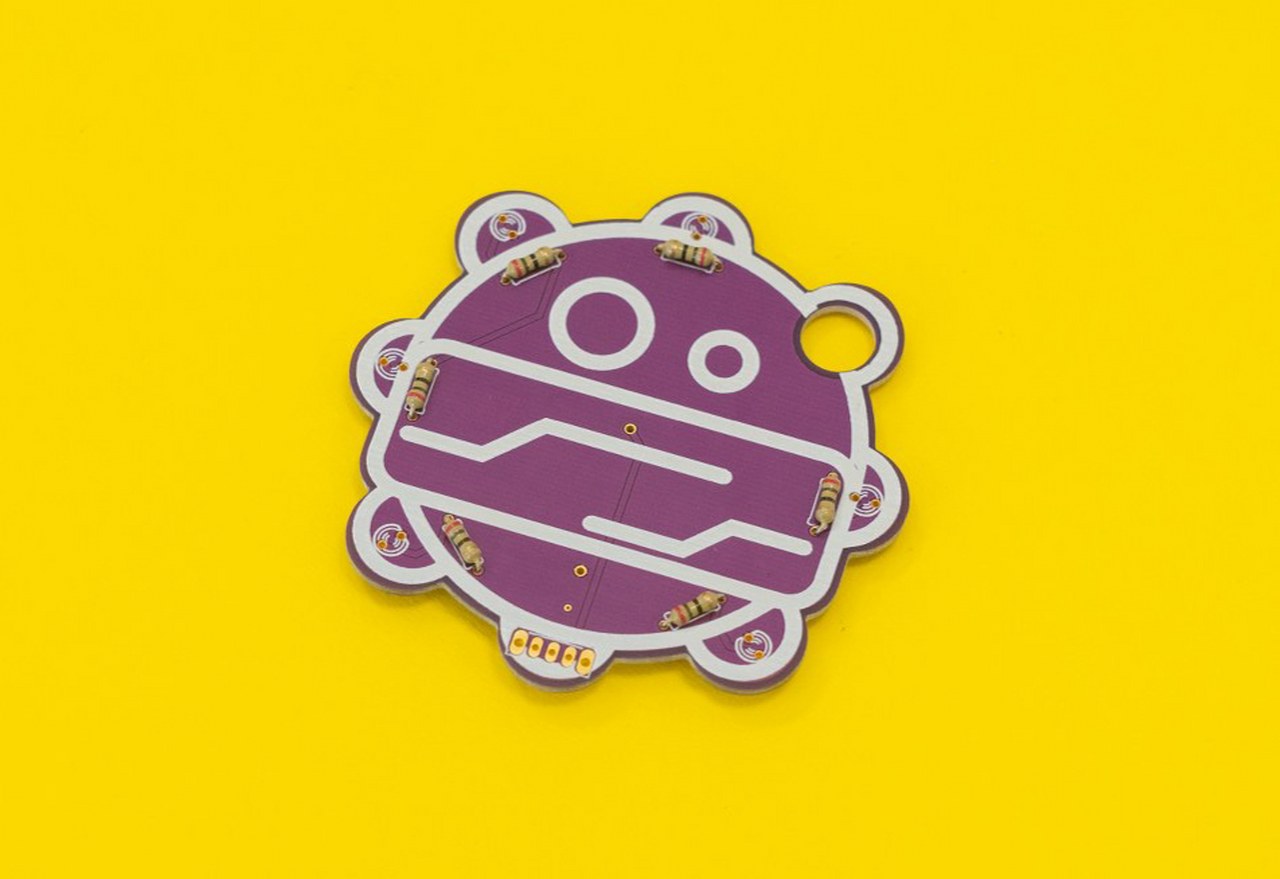
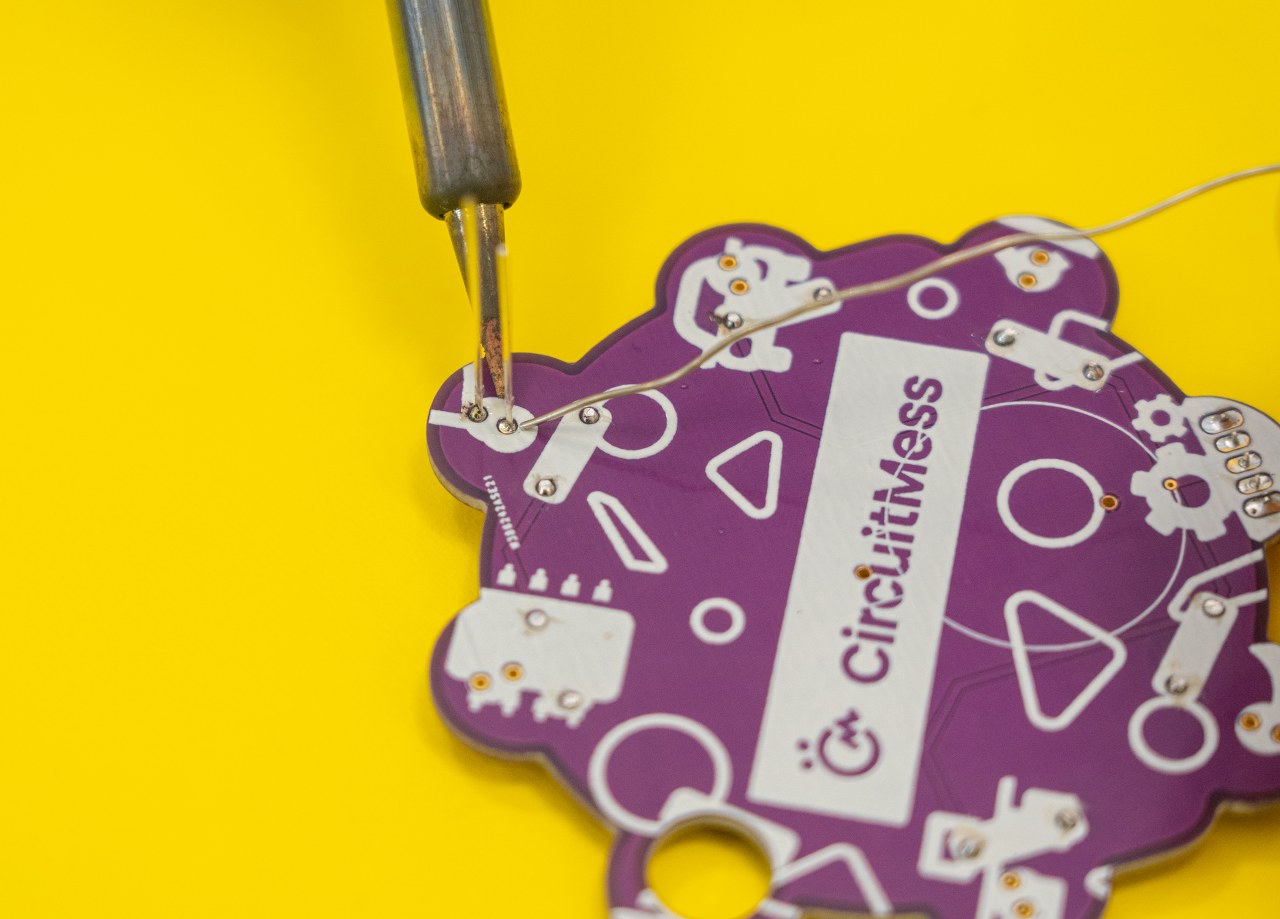
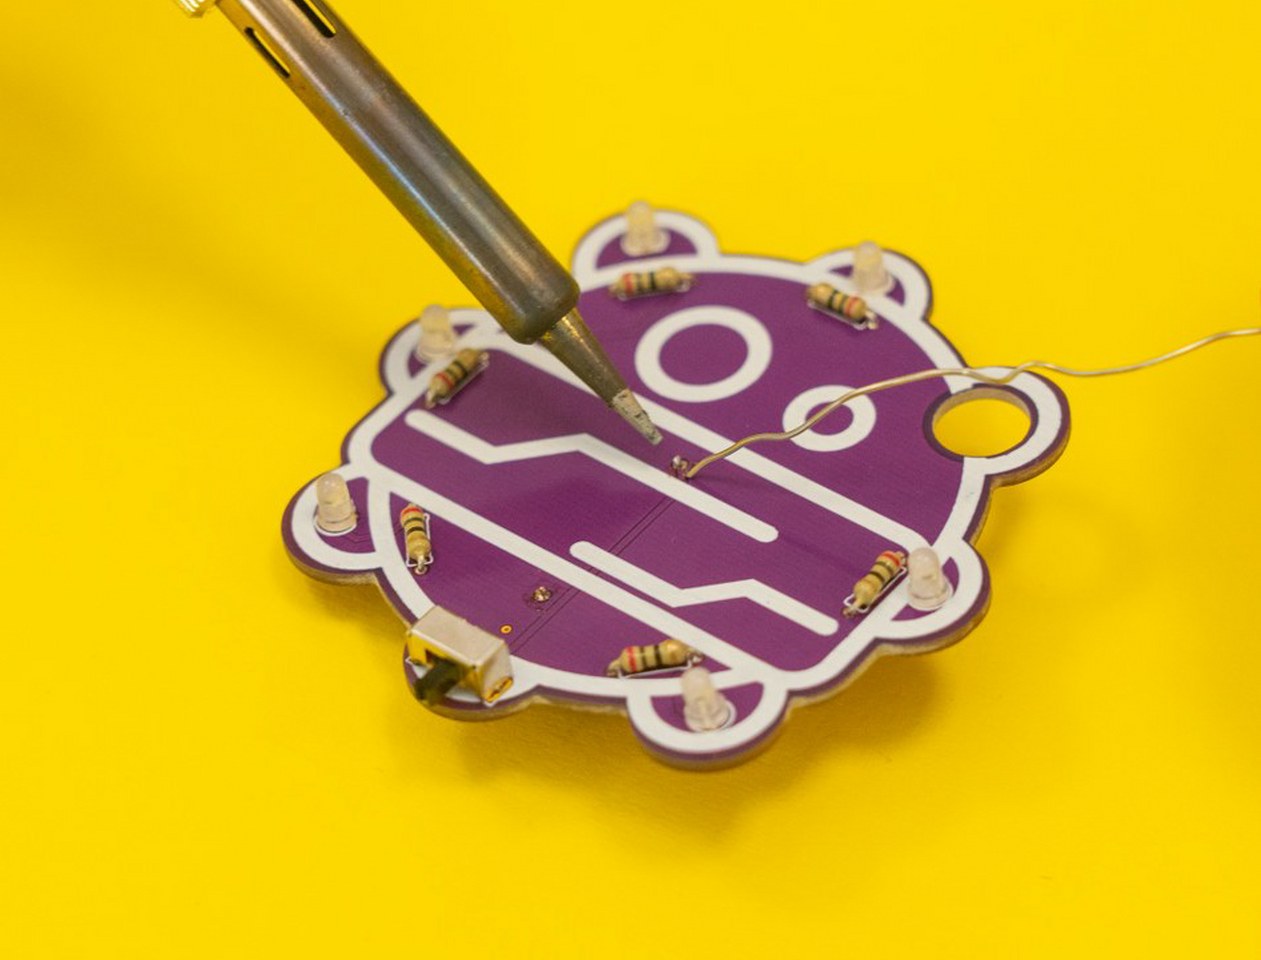
Flip the circuit board and solder all of the resistors on BOB’s back.
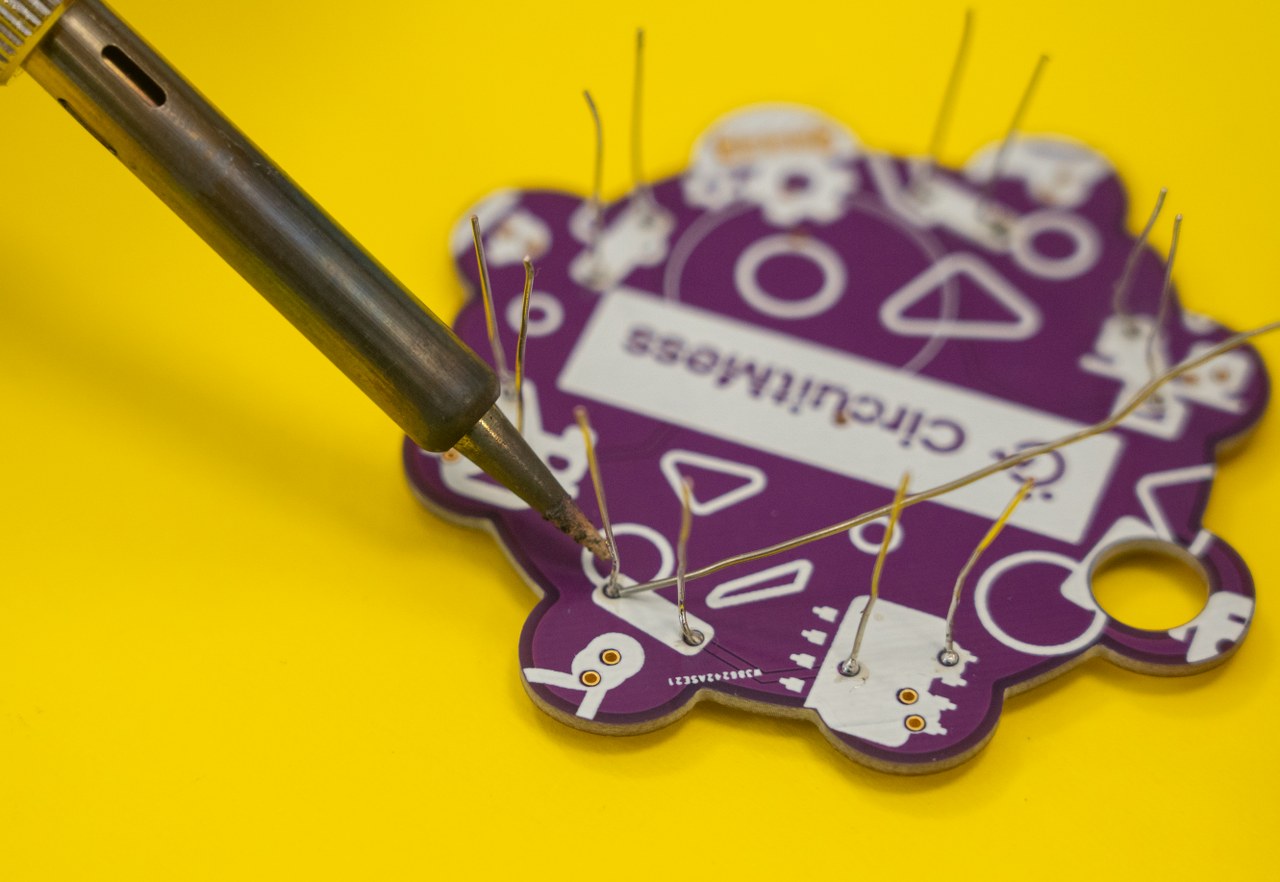
After you solder all resistors, take one more look at the solder joints to ensure there are no cold joints.
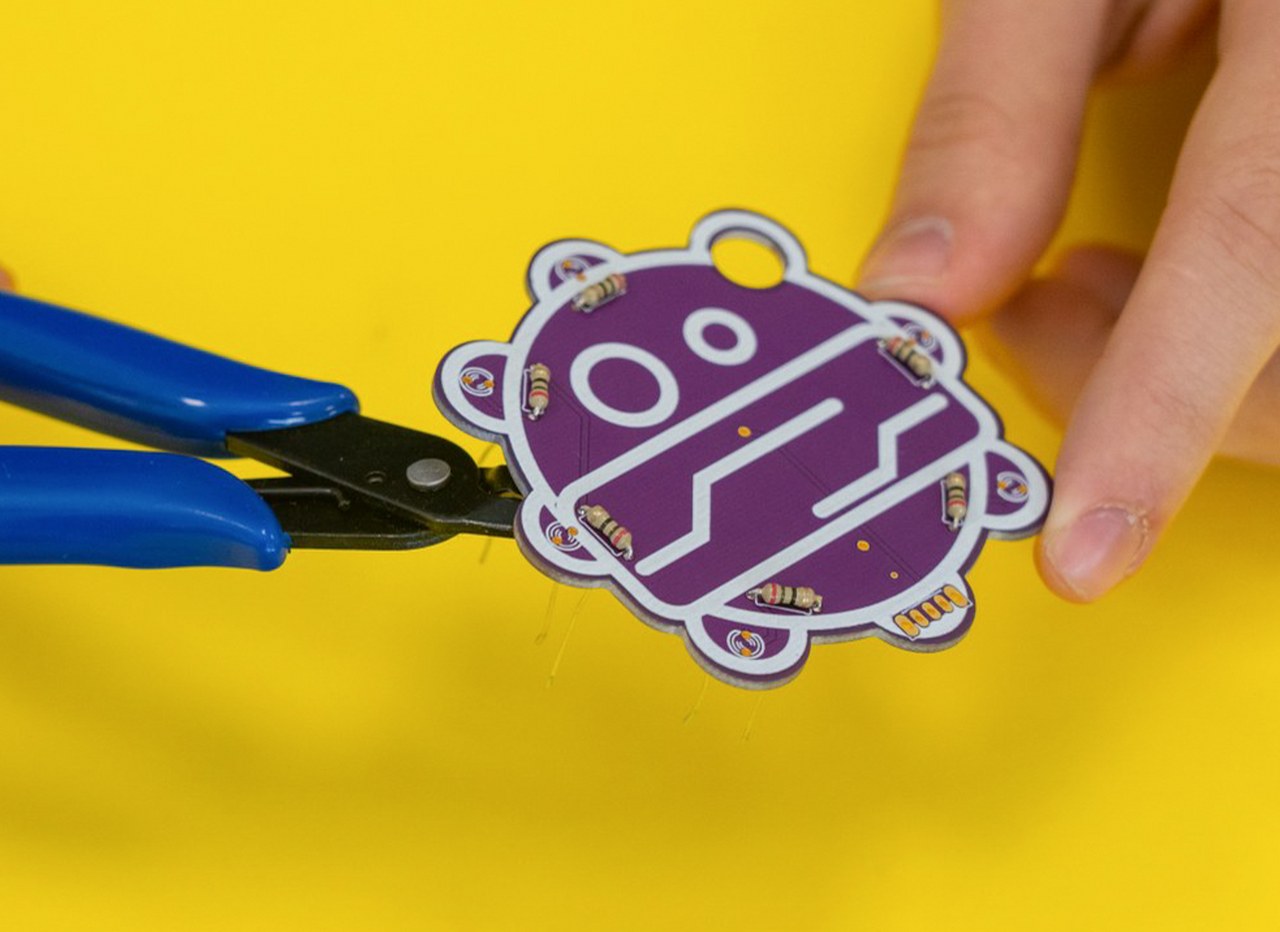
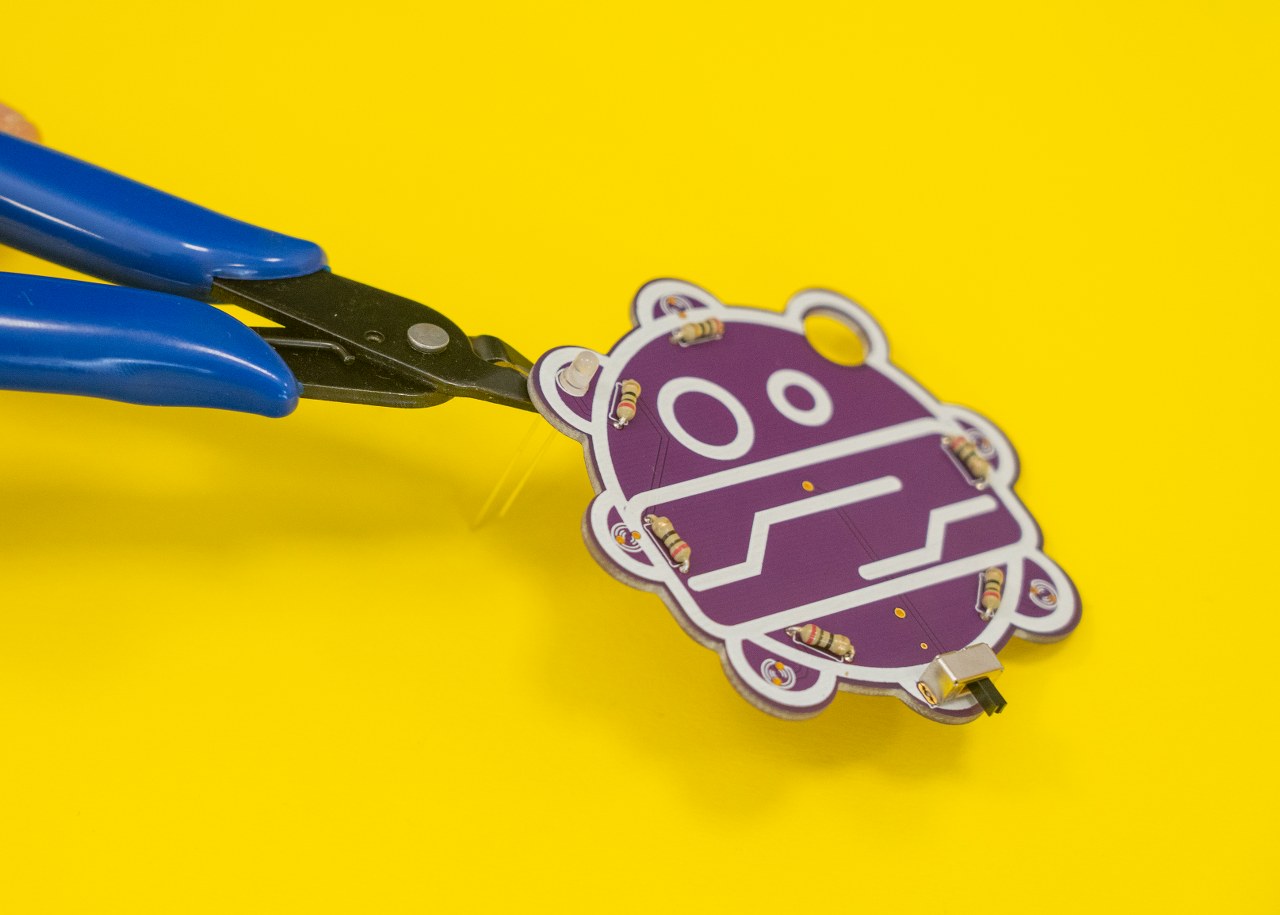
Take the pliers and cut off the legs of the resistors - make sure not to touch the solder joint.
Be careful! Do not point the legs upwards when cutting them!
They might fly away and hurt someone!
When cutting them off, always turn the legs of the electronic component towards your table like this:
Part two - The switch
Now, you’ll be soldering the switch.
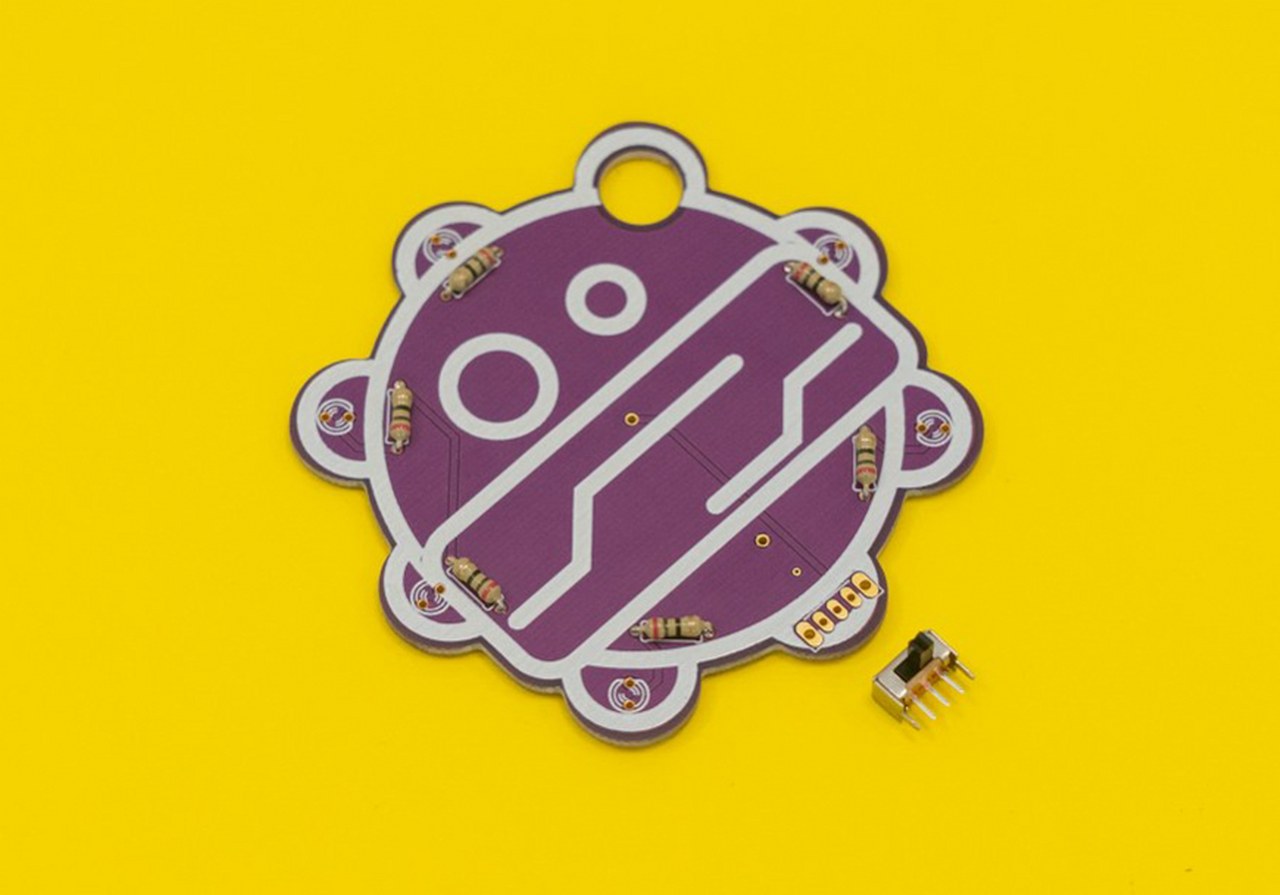
Place the switch as shown on the photo below:
You'll need to use a bit of strength for this since it can be a bit hard for the switch to come into the circuit board.
Now is the time to solder the switch to the circuit board.
Before you do so, please make sure that the switch is vertical to the circuit board.
Please clean your soldering iron tip with the sponge before soldering the switch.
Soldering these pins requires a bit more precision since they are very close together.
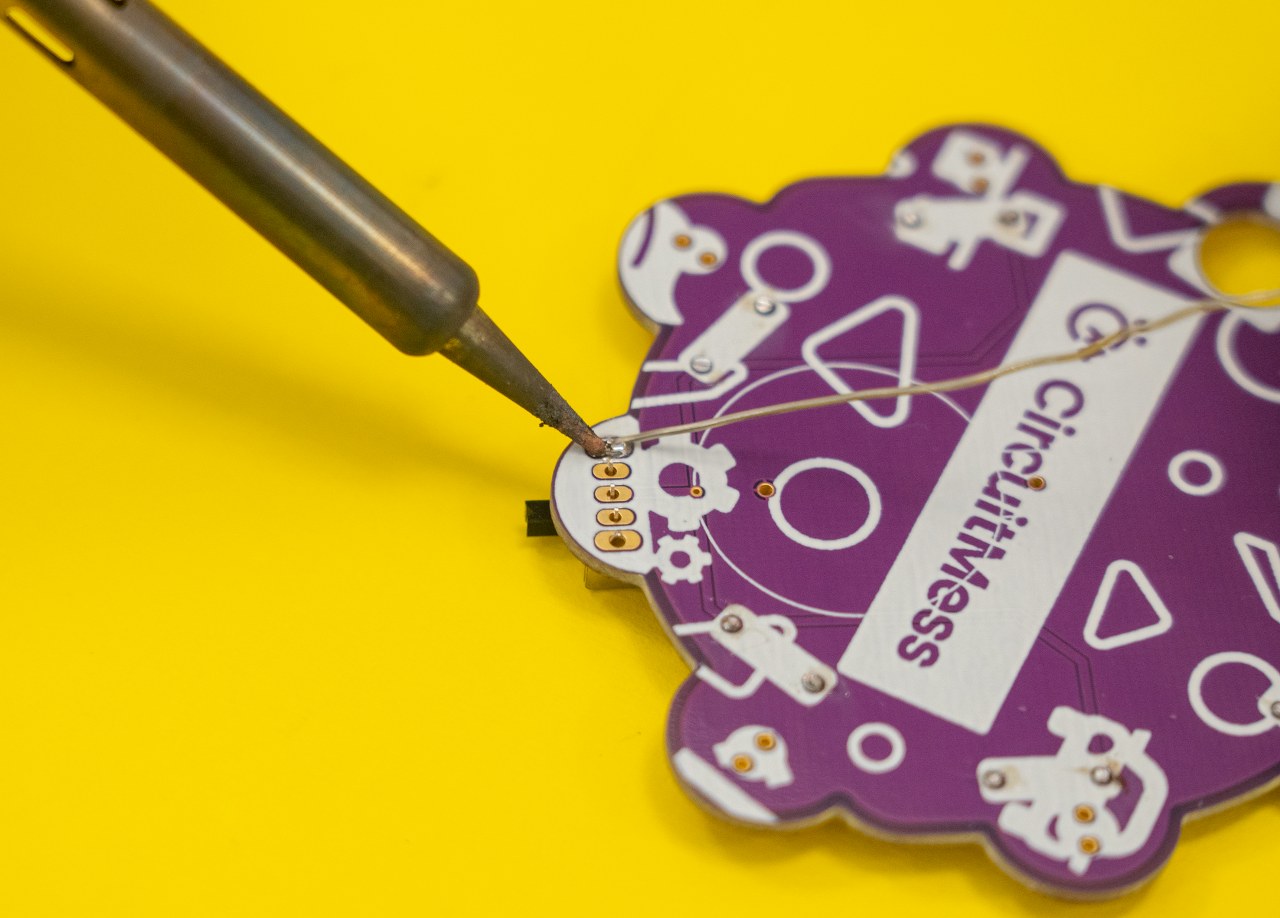
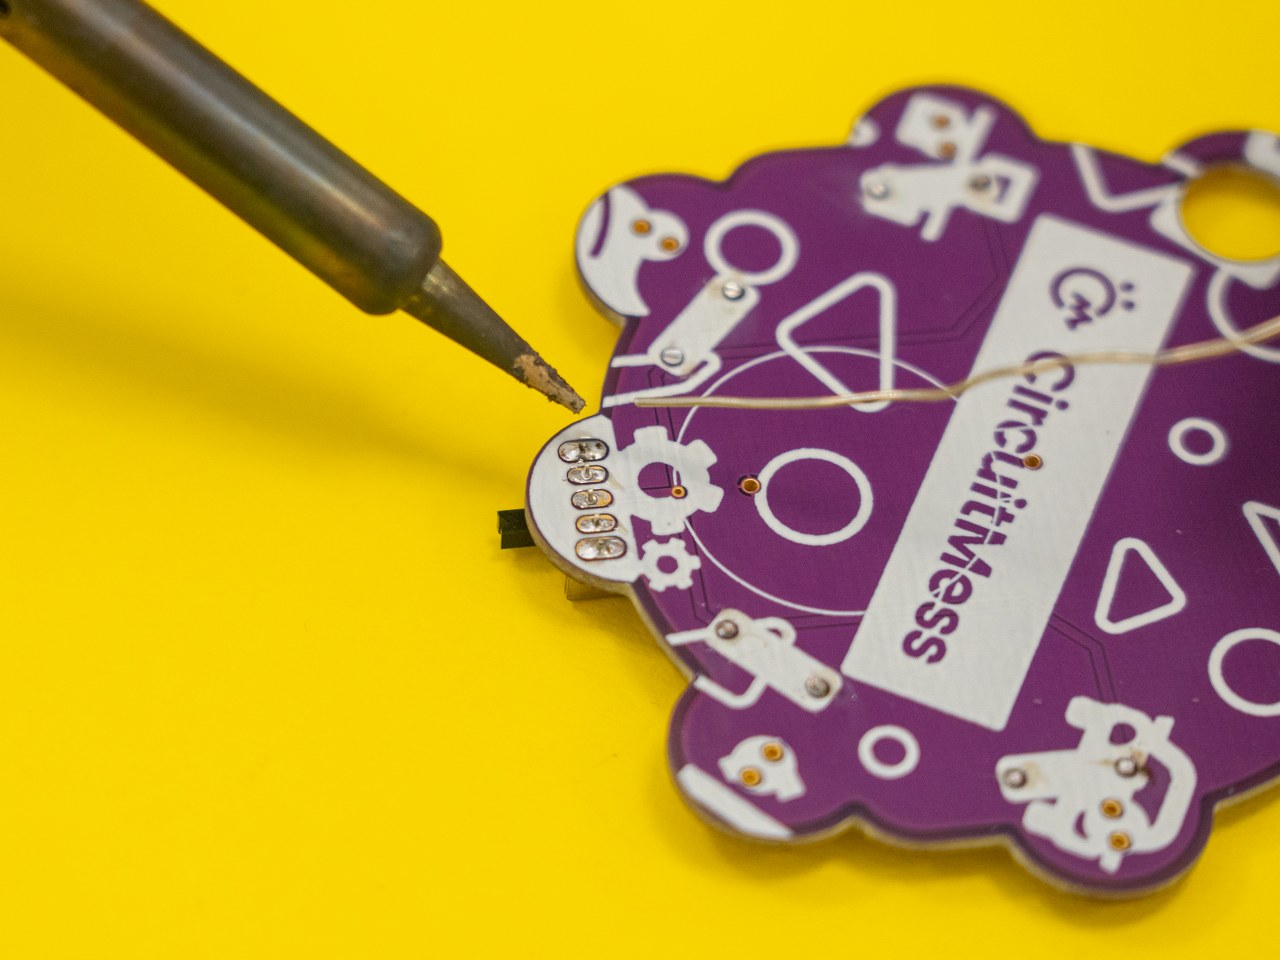
The switch’s soldering joints should look like this after you have successfully soldered them:
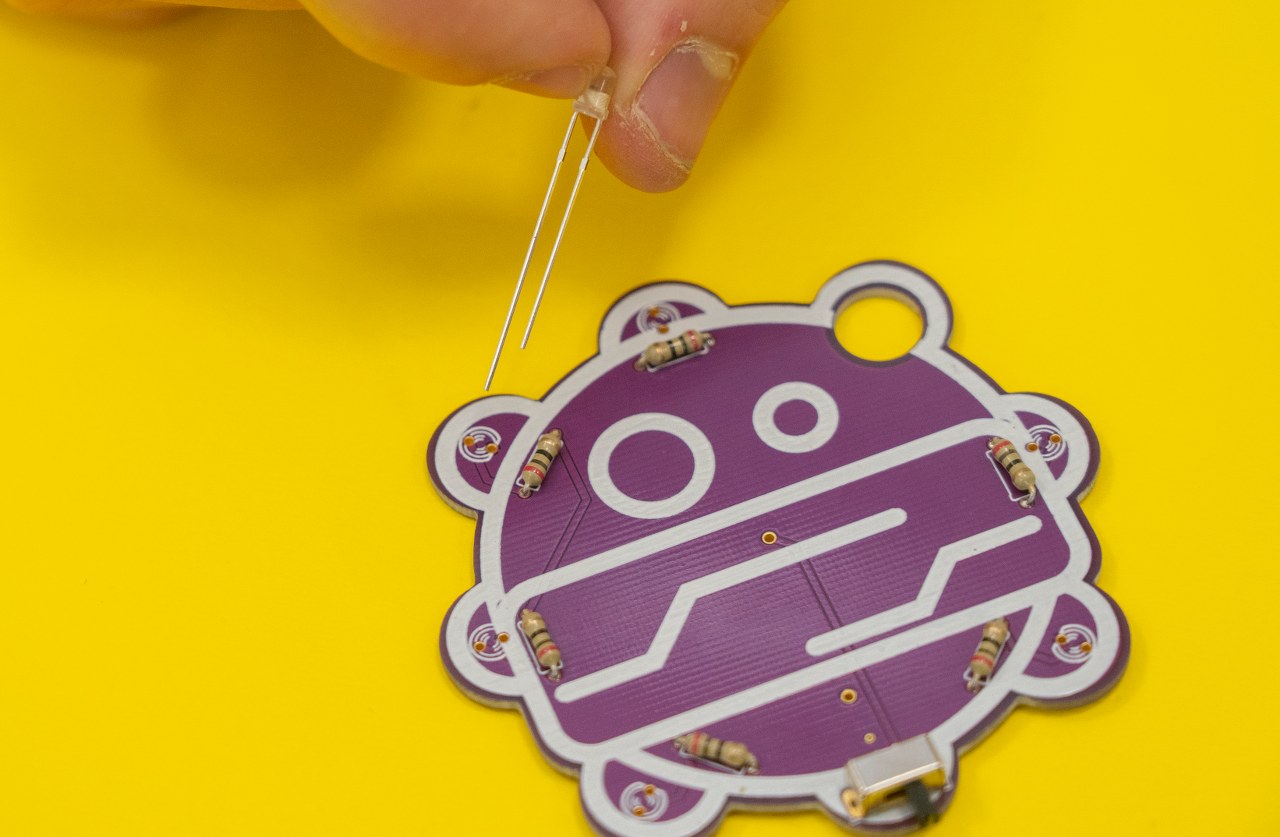
Part three - The LEDs
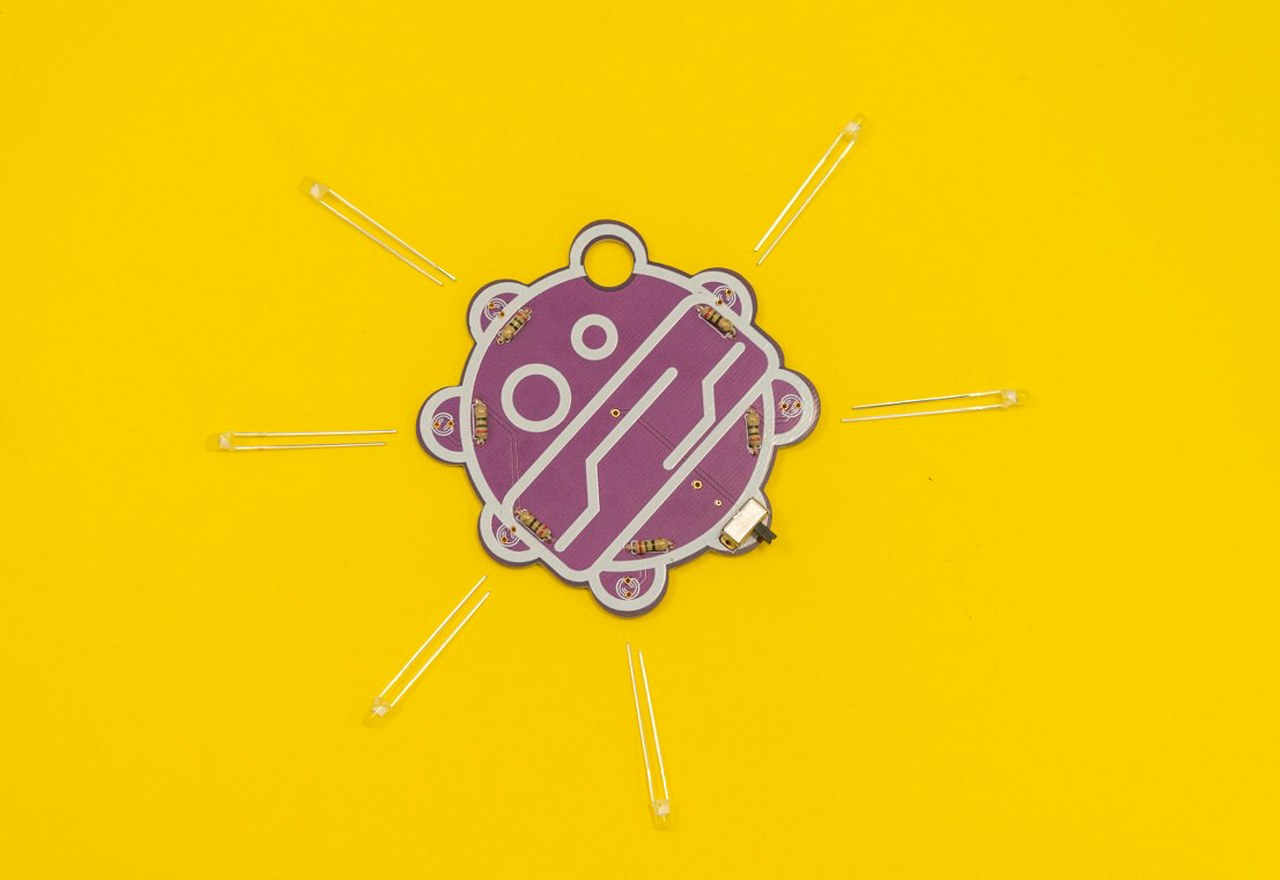
We need to watch out for the polarity of the LEDs, or they won’t work.
The shorter leg of the LED should face the center of BOB’s head like this:
Let's solder!
Once again, make sure that there are no cold joints or bridging.
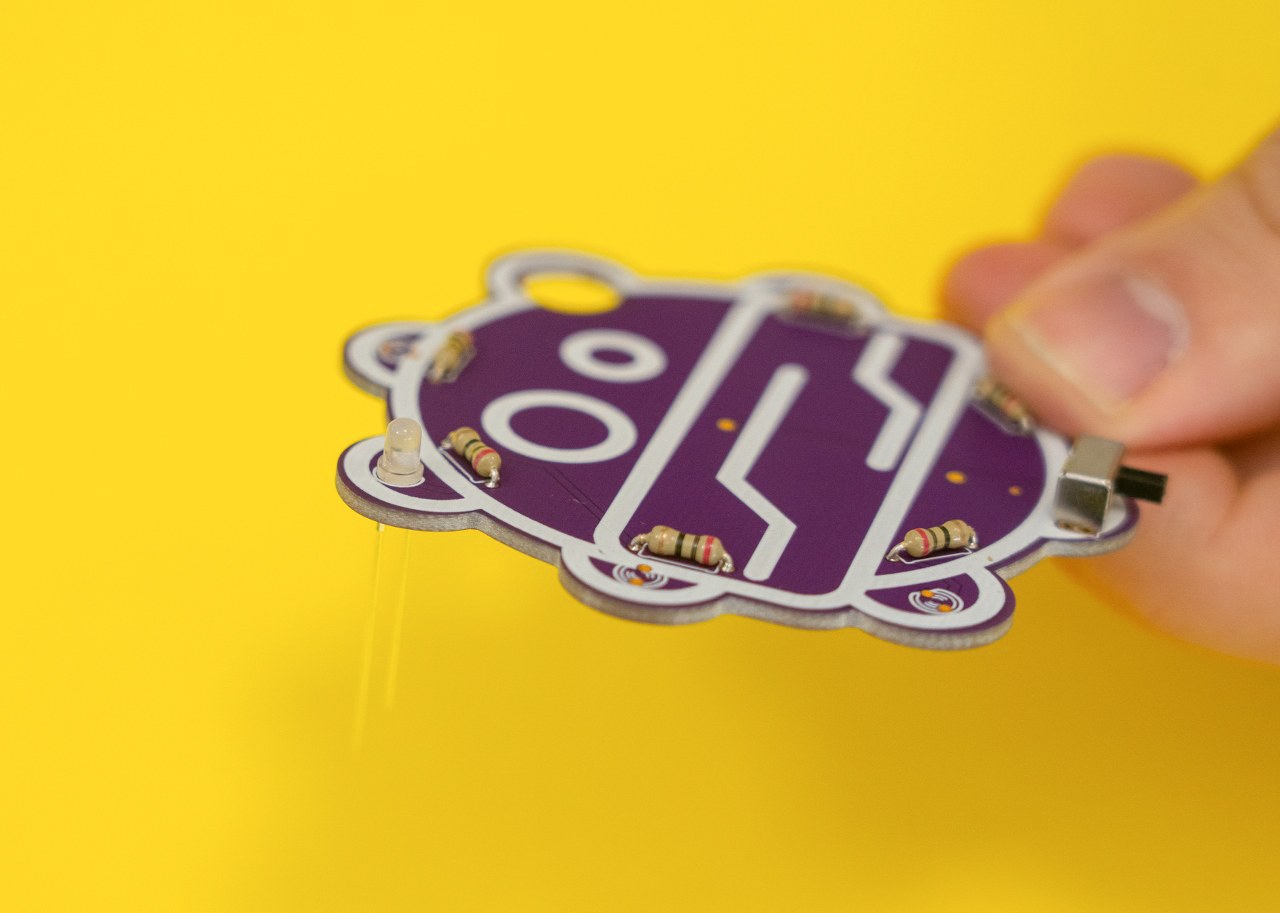
Now take the pliers, and cut the rest of the LED's legs off as you did with the resistor's legs.
Watch out!
The legs of the LEDs must face towards the table when you are cutting them.
This way, they won’t fly away and hurt you!

Part four- The battery holder
Place the battery holder like this:
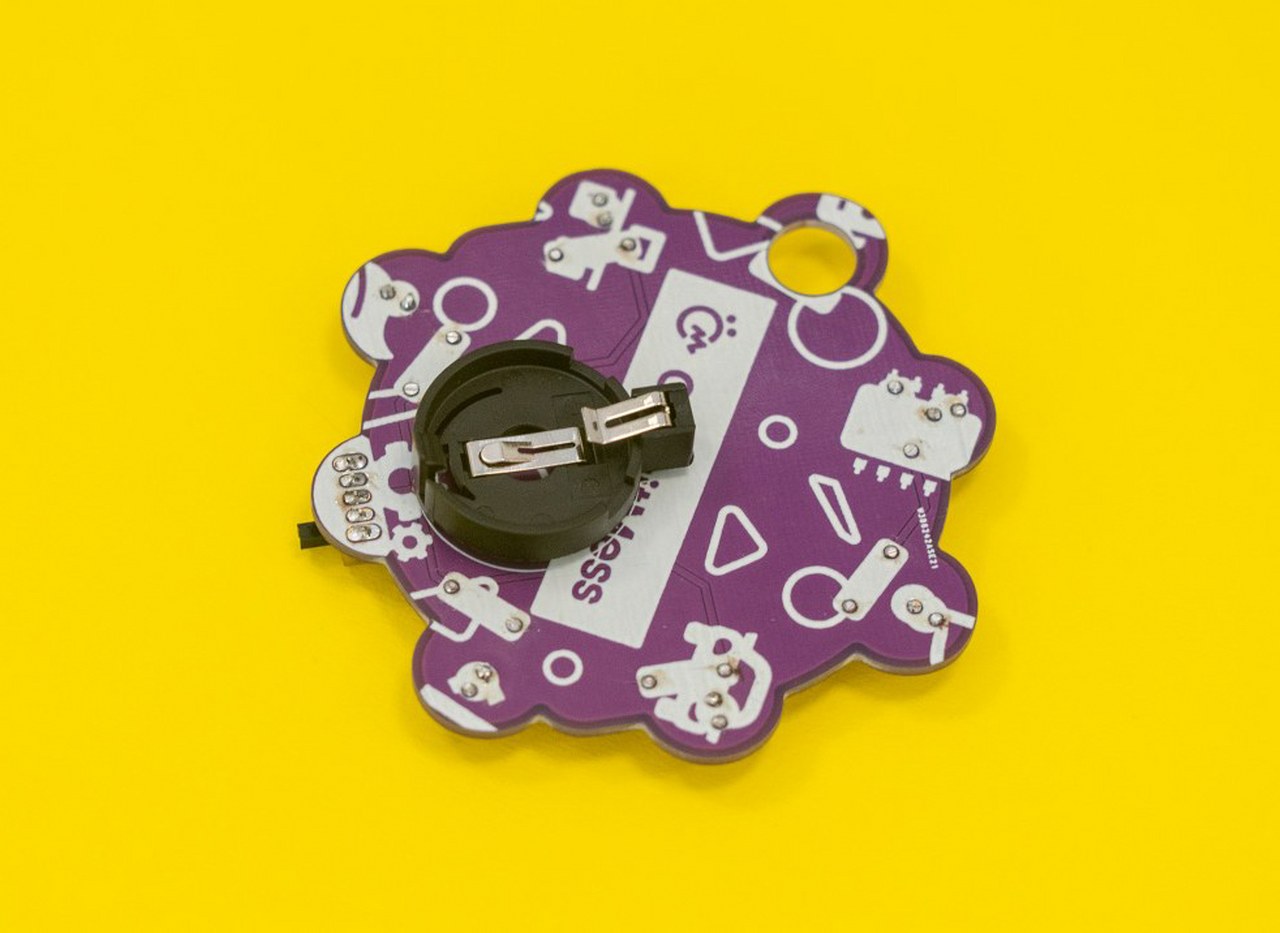
Now, turn BOB around, and let's solder the battery holder’s two pins.
We’re done with soldering!
Please turn off your soldering iron by unplugging it from the power outlet. Leave it on the soldering iron stand for at least five minutes, so it cools off before you put it away.
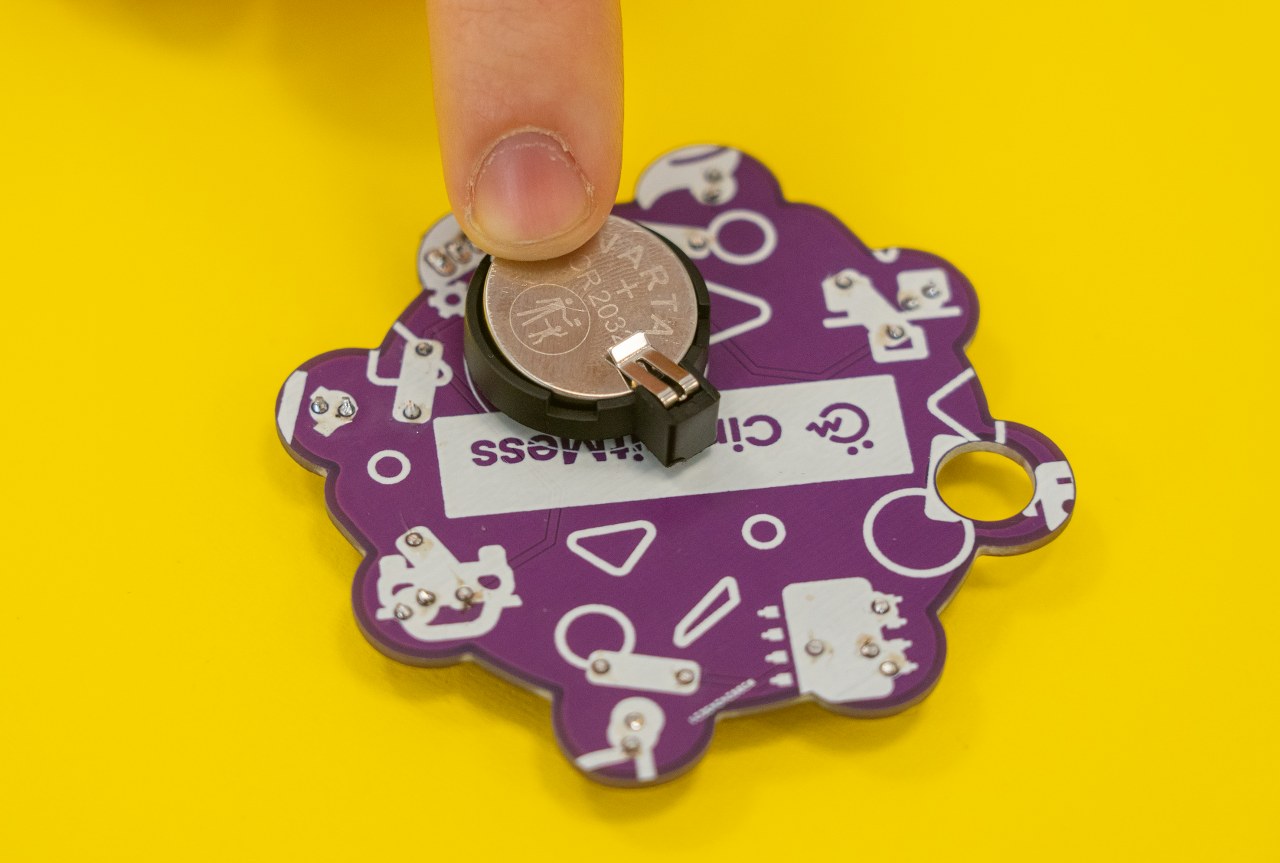
Now you can put the coin cell battery into the battery holder!
Watch out; the battery needs to be put in on the right side.
The tiny plus (+) sign on the battery must be facing upwards!
Check the photo:
You did it! BOB, the wacky robot is assembled.