
Assembly
Casing up your Vatreni Token
It's time to assemble your Vatreni Token!
Don't worry, this is a very simple procedure.
The first thing you'll have to do is put batteries in their place.
This part will require the following components:
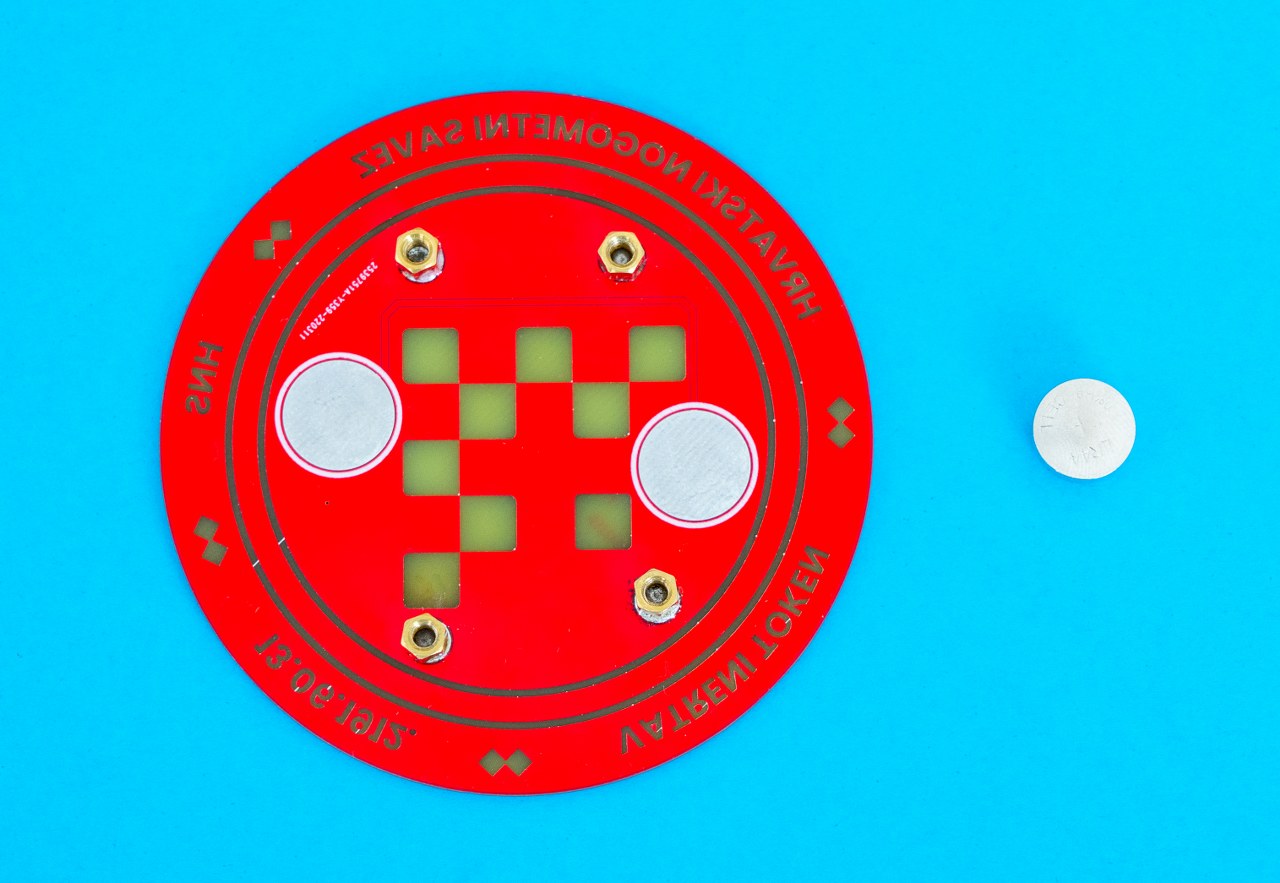
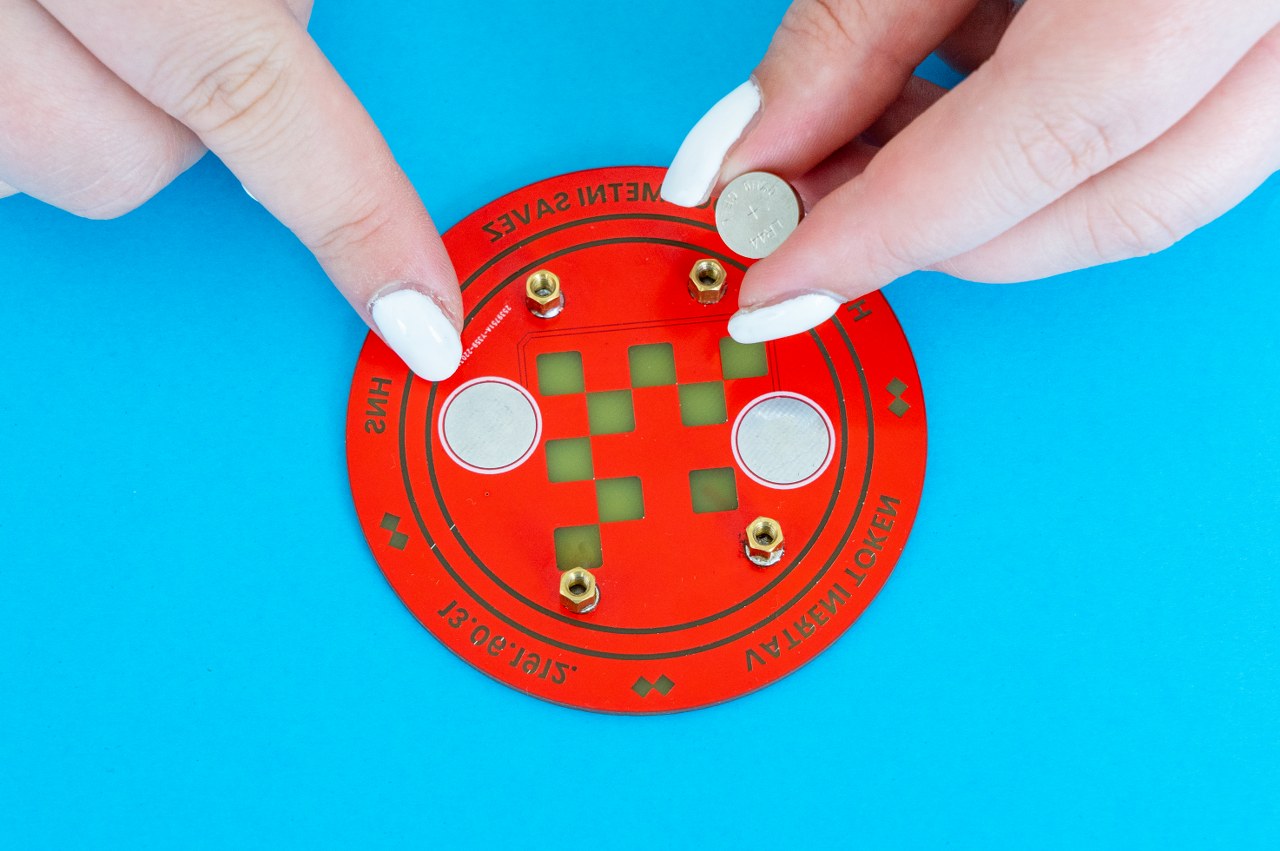
It is easiest to place the battery board on a flat surface and then place the batteries on the board's silver circles.
If you look closely at your batteries, you'll notice + and - signs on them. These signs mark polarity, and it's very important for them to be placed correctly on the board; otherwise, your device won't work.
This is where you'll put the battery, with the + sign facing up.
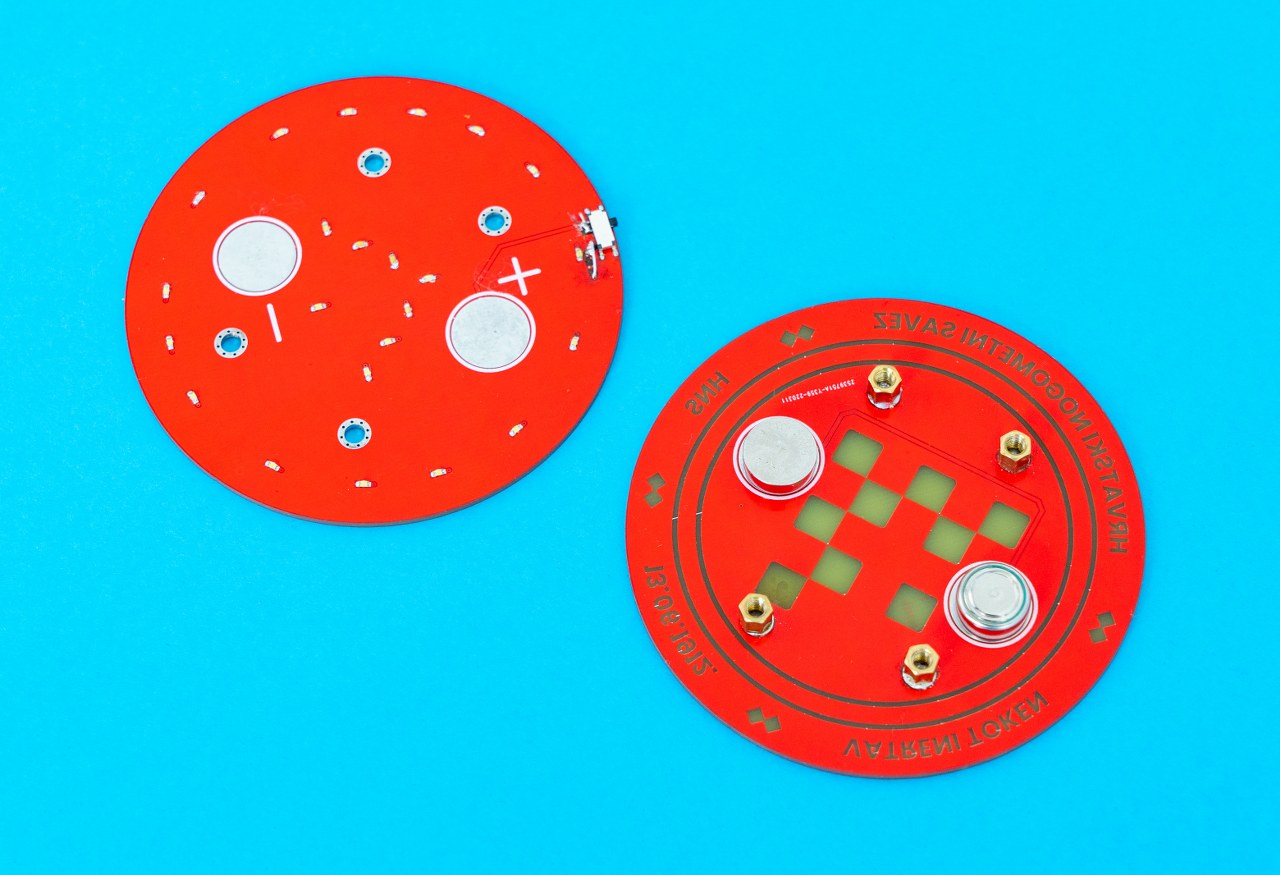
You can also take the other board from the kit (the one with + and - signs on it) and put it on top of the first board.This will give you an idea of how to properly place the batteries.
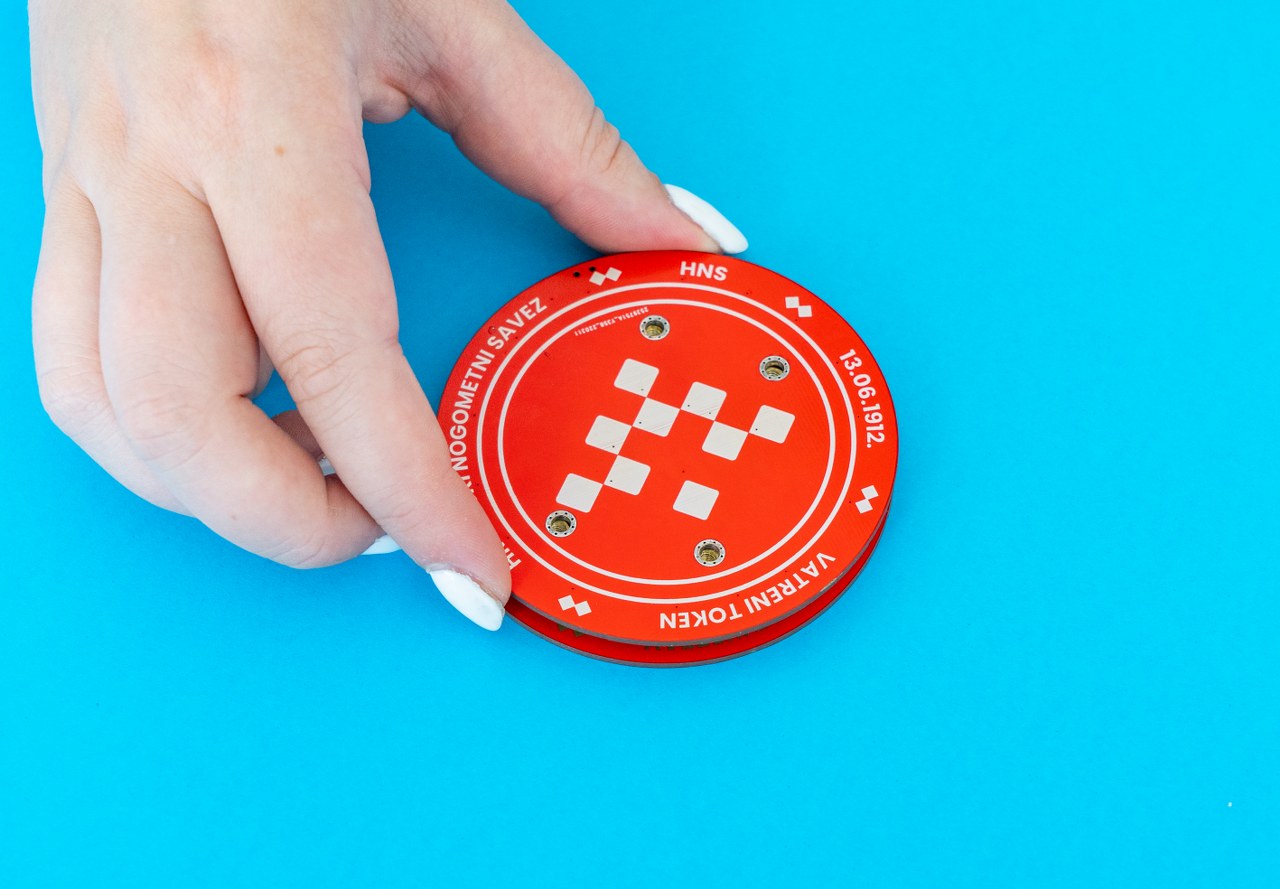
Place the boards one on top of the other just like this:

Take the screwdriver and four silver bolts now.
Tighten the bolt in one of the four holes.
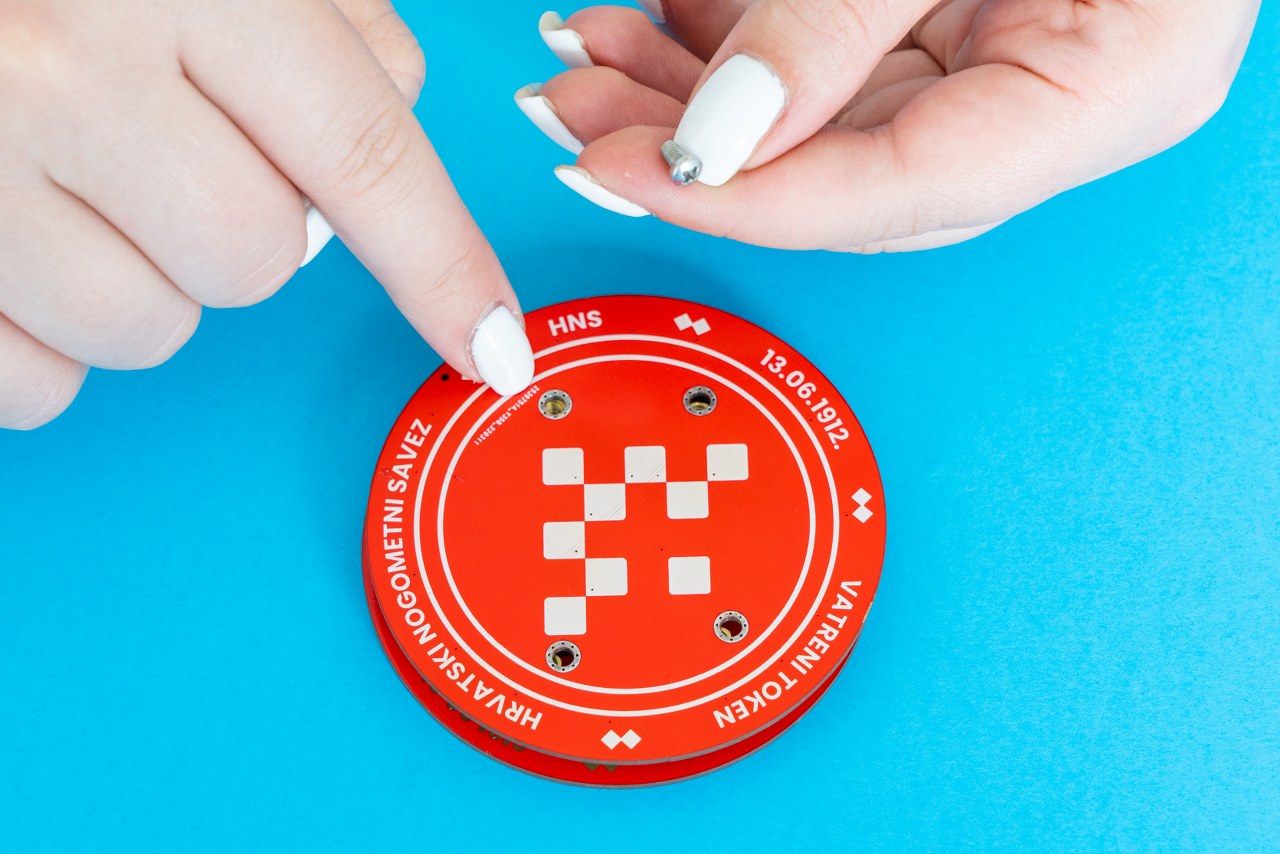
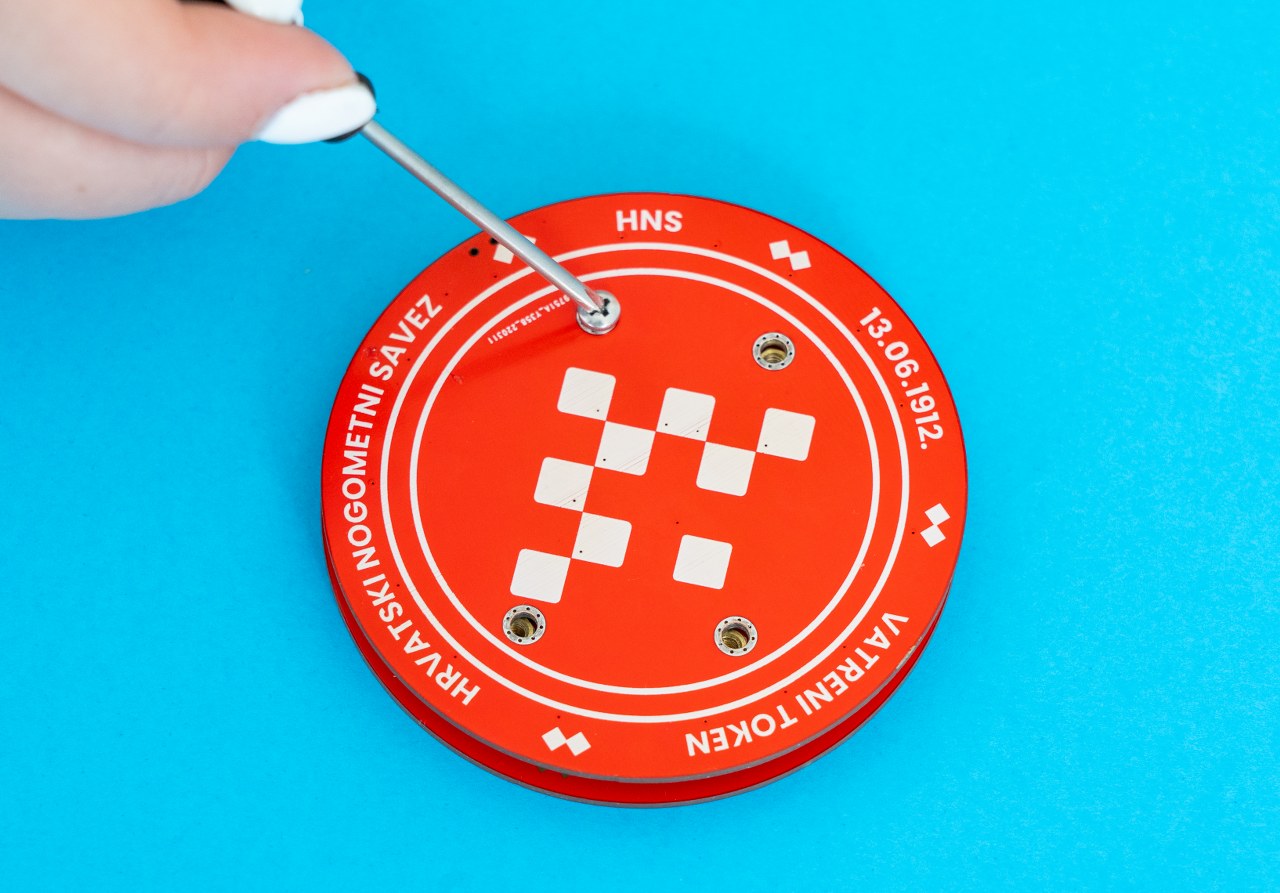
Repeat this step for the remaining three bolts.
Your Vatreni Token should look like this by now:
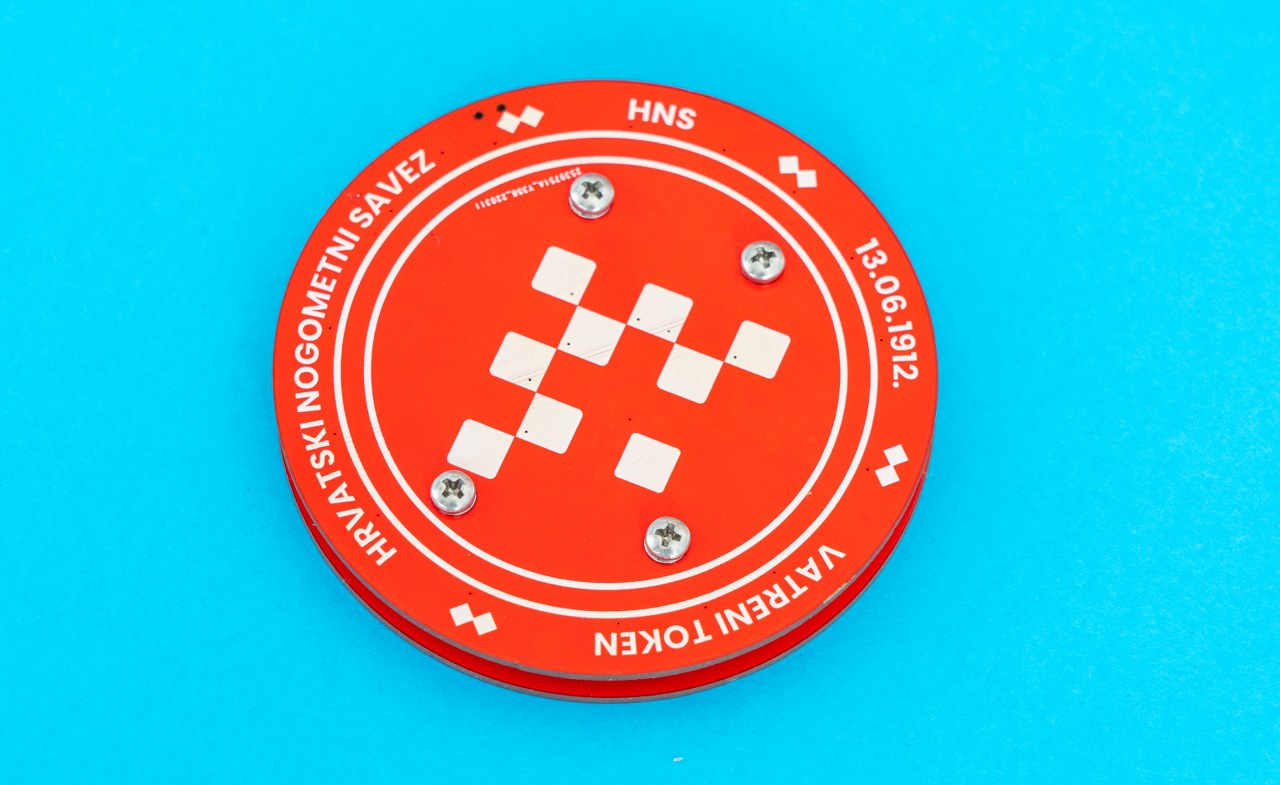
Congrats!
You successfully assembled your Vatreni Token!
In the following chapter, we will show you how to turn it on, and double-check that you did everything correctly.