Chapter Two - First check
It's time to see if everything works!
This is a short, but sweet step where you find out if everything works as it should.
Only after doing that should we go on with assembling the casing!
It would be a lot of work to disassemble the casing if we found out something wasn't working! That’s why it is important to do this simple check.
Let's start...
Step #1
Find a power adapter with an output of minimally 2A (ampere). This means that almost any adapter that you use to charge your smartphone should work just fine.

Step #2
Use the USB-C cable for charging and programming the device that you got in the box. Insert the cable into the power adapter.


Step #3
Insert the other side of the USB cable into the USB port on the board.


Step #4
Connect the power adapter to the power outlet to turn on your Jay-D.


Step #5 - Is it working?
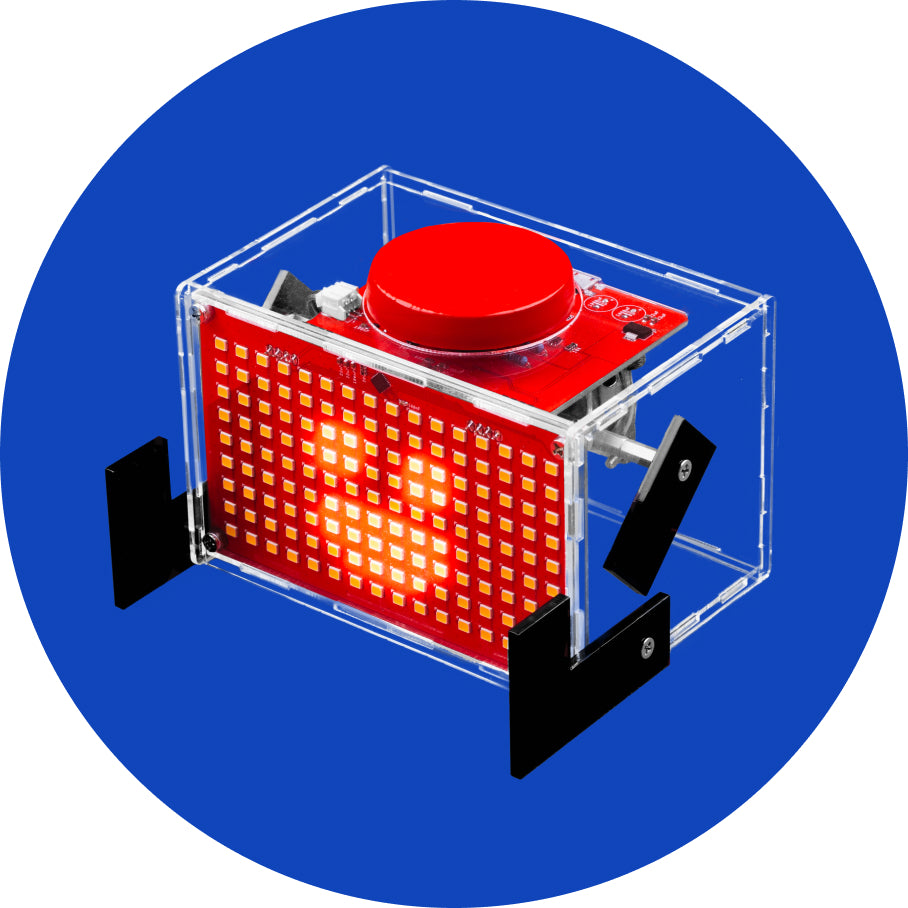
If you did a good job with soldering all the pins and if all the components work - you should get something showing on the screen.
You still can't program or mix some music, but if your Jay-D shows an image on the screen, feel free to continue with the tutorial.


Check for any bad solder joints, solder bridges, unsoldered pins, and residual solder somewhere on the board.
After fixing the soldering joints, repeat the first check process to see if the screen lights up.
In case this doesn't help, reach out to us via contact@circuitmess.com, and we'll do our best to help out! Make sure to attach a few photos of your soldering joints on the boards so we can troubleshoot as soon as possible.

Step #6 - Input Test
The first thing that pops up when you turn on your Jay-D is the input test. In this step, you'll test if all the components are properly soldered by clicking, sliding, and rotating all the buttons, encoders, and sliders.
- Click all the encoders and two small buttons
- Rotate all the rotary encoders until they are completely red on the display
- Slide all the slider potentiometers until they turn red on the display

Watch out! A batch of Jay-Ds from November and December 2021 were shipped with a firmware glitch that might cause them to get stuck on the initial test screen.
If your Jay-D's screen is flashing when turned on and not working properly, you will have to update its firmware on this step.
Press any key to exit the input test and proceed to the next step in the build guide.
You can also check our YouTube video of Input test at this link.
If the screen doesn't light up, that most probably means that one of the components is not properly soldered.
Check for any bad solder joints, solder bridges, unsoldered pins, and residual solder somewhere on the board.
ALWAYS disconnect the power supply before starting the soldering process!
After fixing the soldering joints, repeat the first check process to see if the screen lights up.
In case this doesn't help, reach out to us via contact@circuitmess.com, and we'll do our best to help out! Make sure to attach a few photos of your soldering joints on the boards so we can troubleshoot as soon as possible.


